The Objective

Dance practice is difficult without mirrors. While they're not necessary, mirrors significantly improve efficiency, especially when trying to get several people in sync. As a result, I wanted to install mirrors at home, but there was an issue. No wall within my house could support a five by eight feet mirror, let alone three of them. Since my walls wouldn't work, I decided to make free-standing frames that could hold them instead.
Though what would the shape be? What material should I use? What do I do if I need to move the frames? Do I have the right tools? How much will this cost?
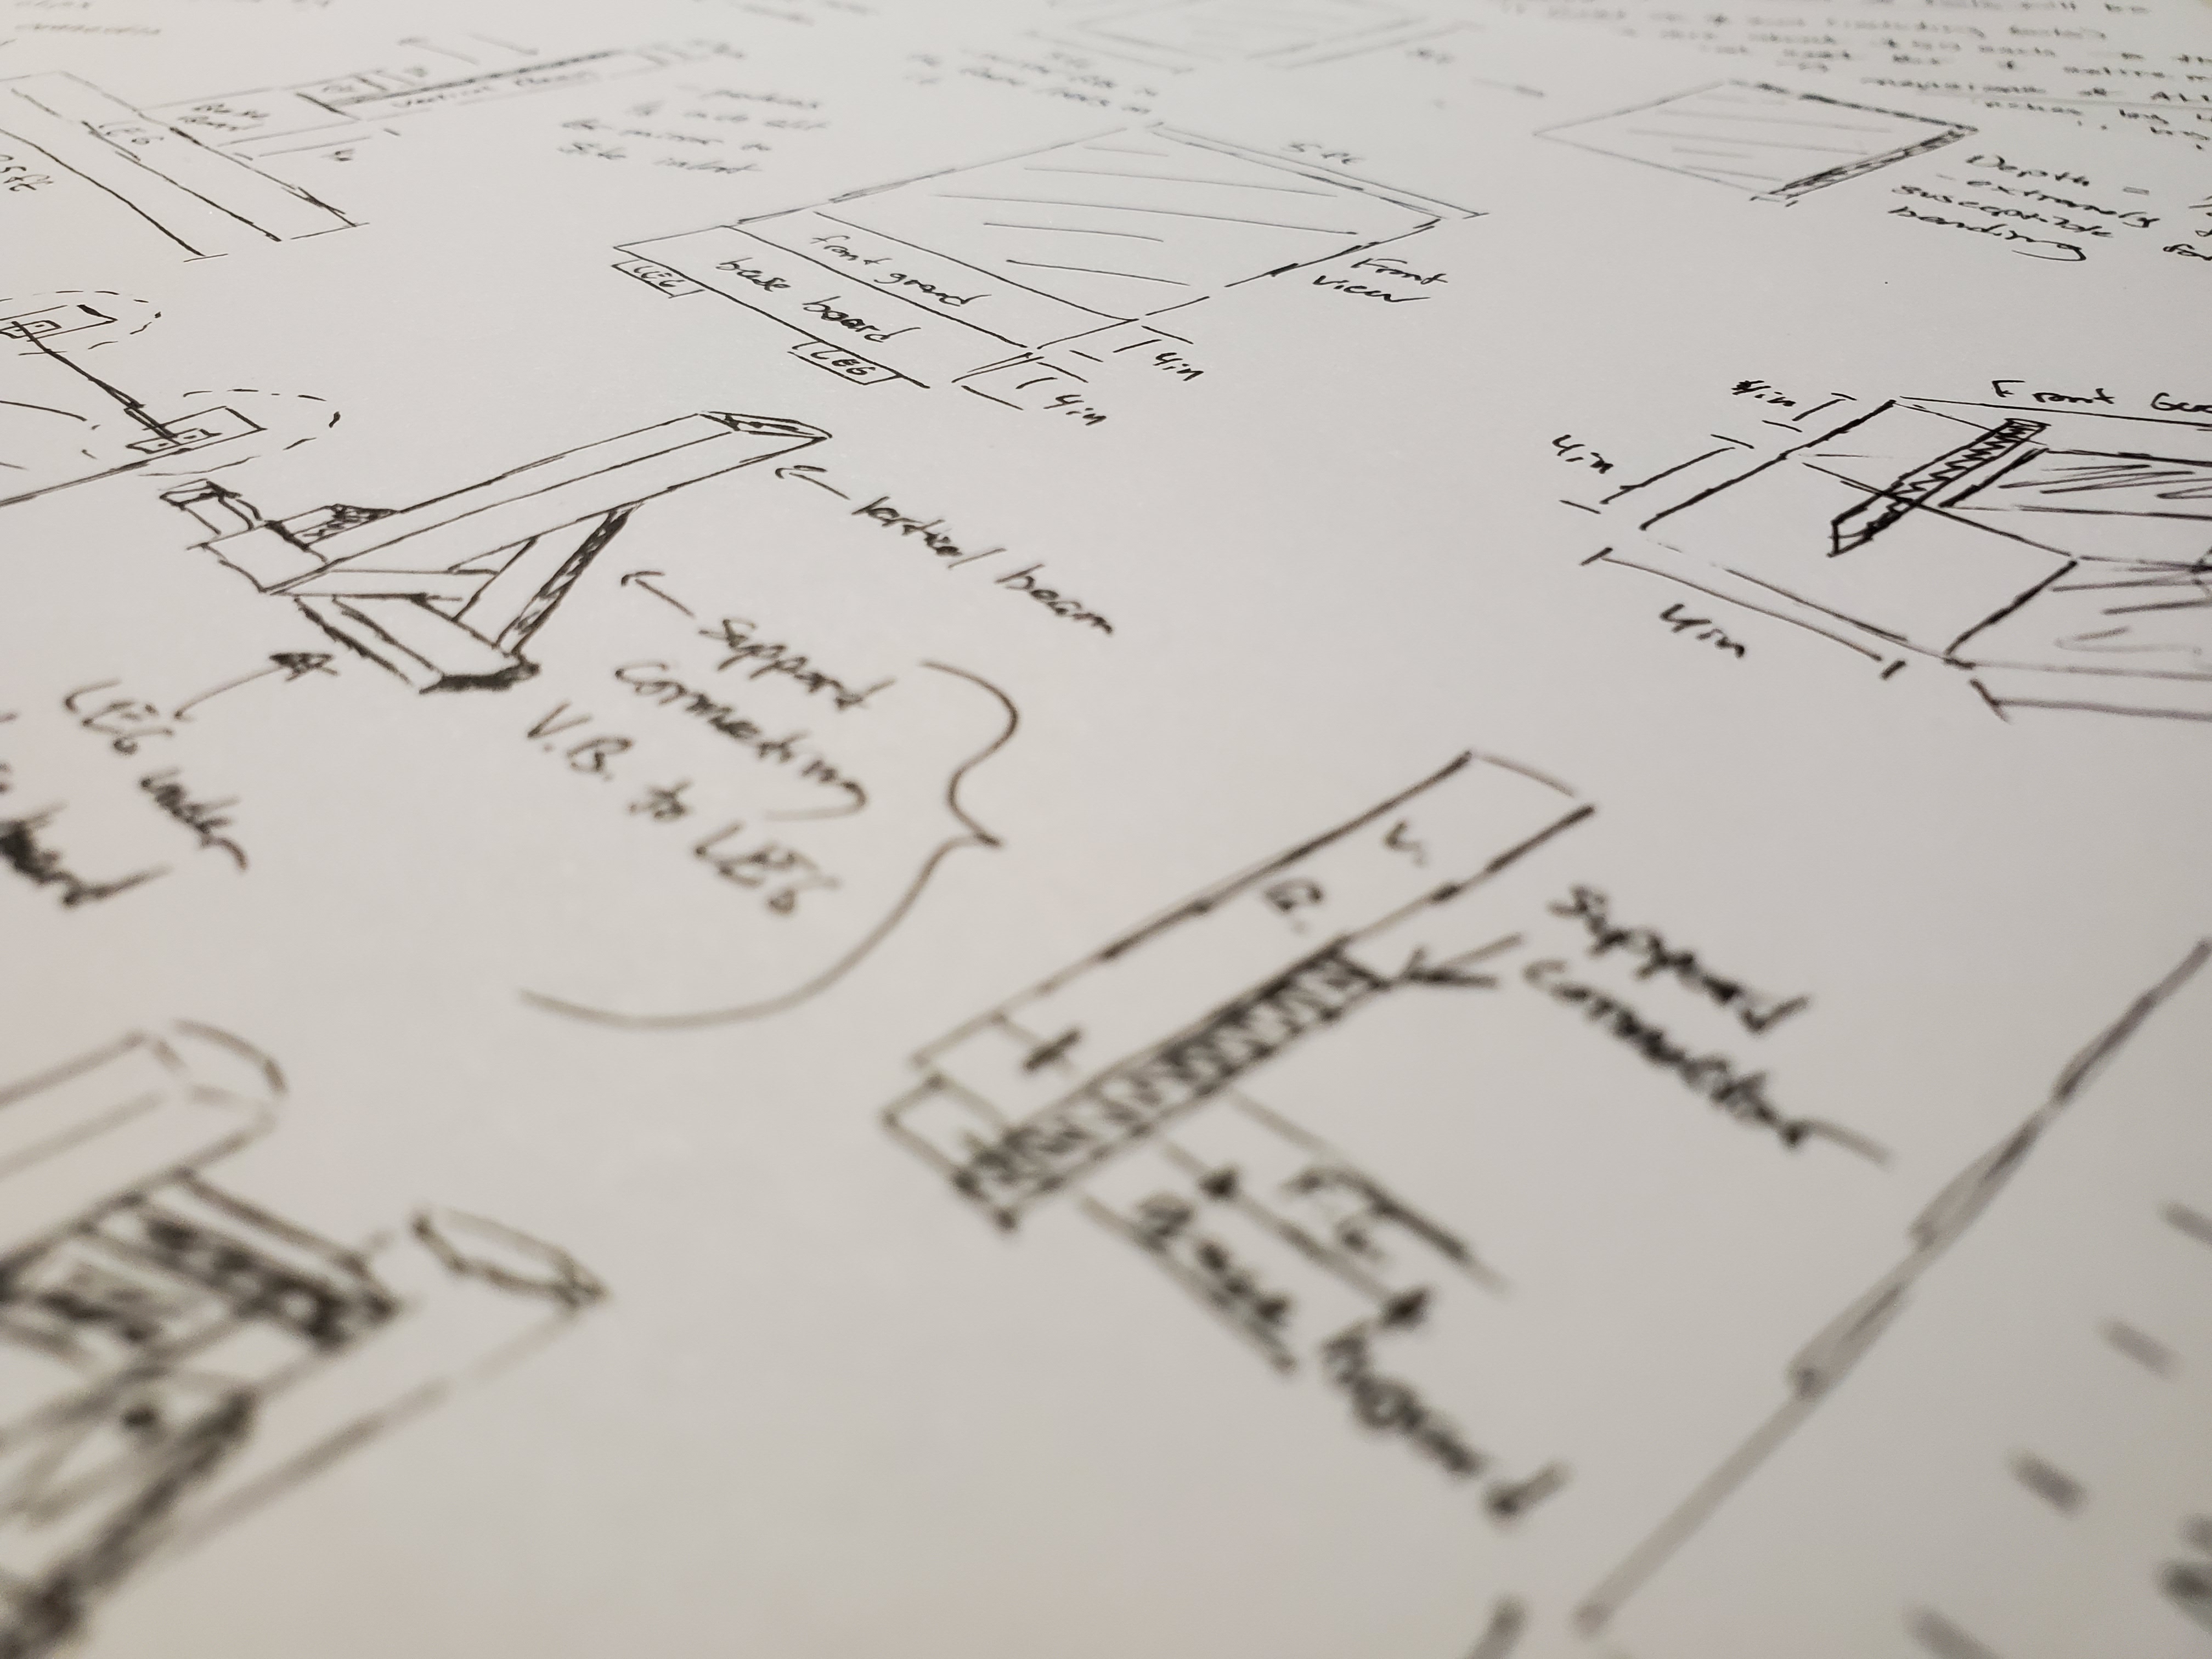
After enough thought, I started planning. My idea was to construct a frame with a slit to hold the mirror. The slit would allow the mirror to be slid in or out if needed. For the frame itself, it would consist of three main pieces: a five feet long beam, an "H"-shaped backing, and a shorter, frontside guard. In this case, the "H"-shaped backing and the frontside guard would sandwich the mirror in place while everything rests on the beam, which acts as a base. In addition, supporting connectors would be made throughout to improve stability. Aside from the shape, I also believed wood was the best material to use. It was easy to work with and accessible in my area. In terms of minimizing costs, I also made two decisions: buy only necessities and do the work myself. The first decision would prevent me from wasting money on excess materials. The second decision would make my work more difficult, but in exchange, I could cut costs.
With my plan drafted, schematics drawn, and budget decided, I was ready to begin.
(Picture above displays rough sketches and drafts of the frames.)
The Process

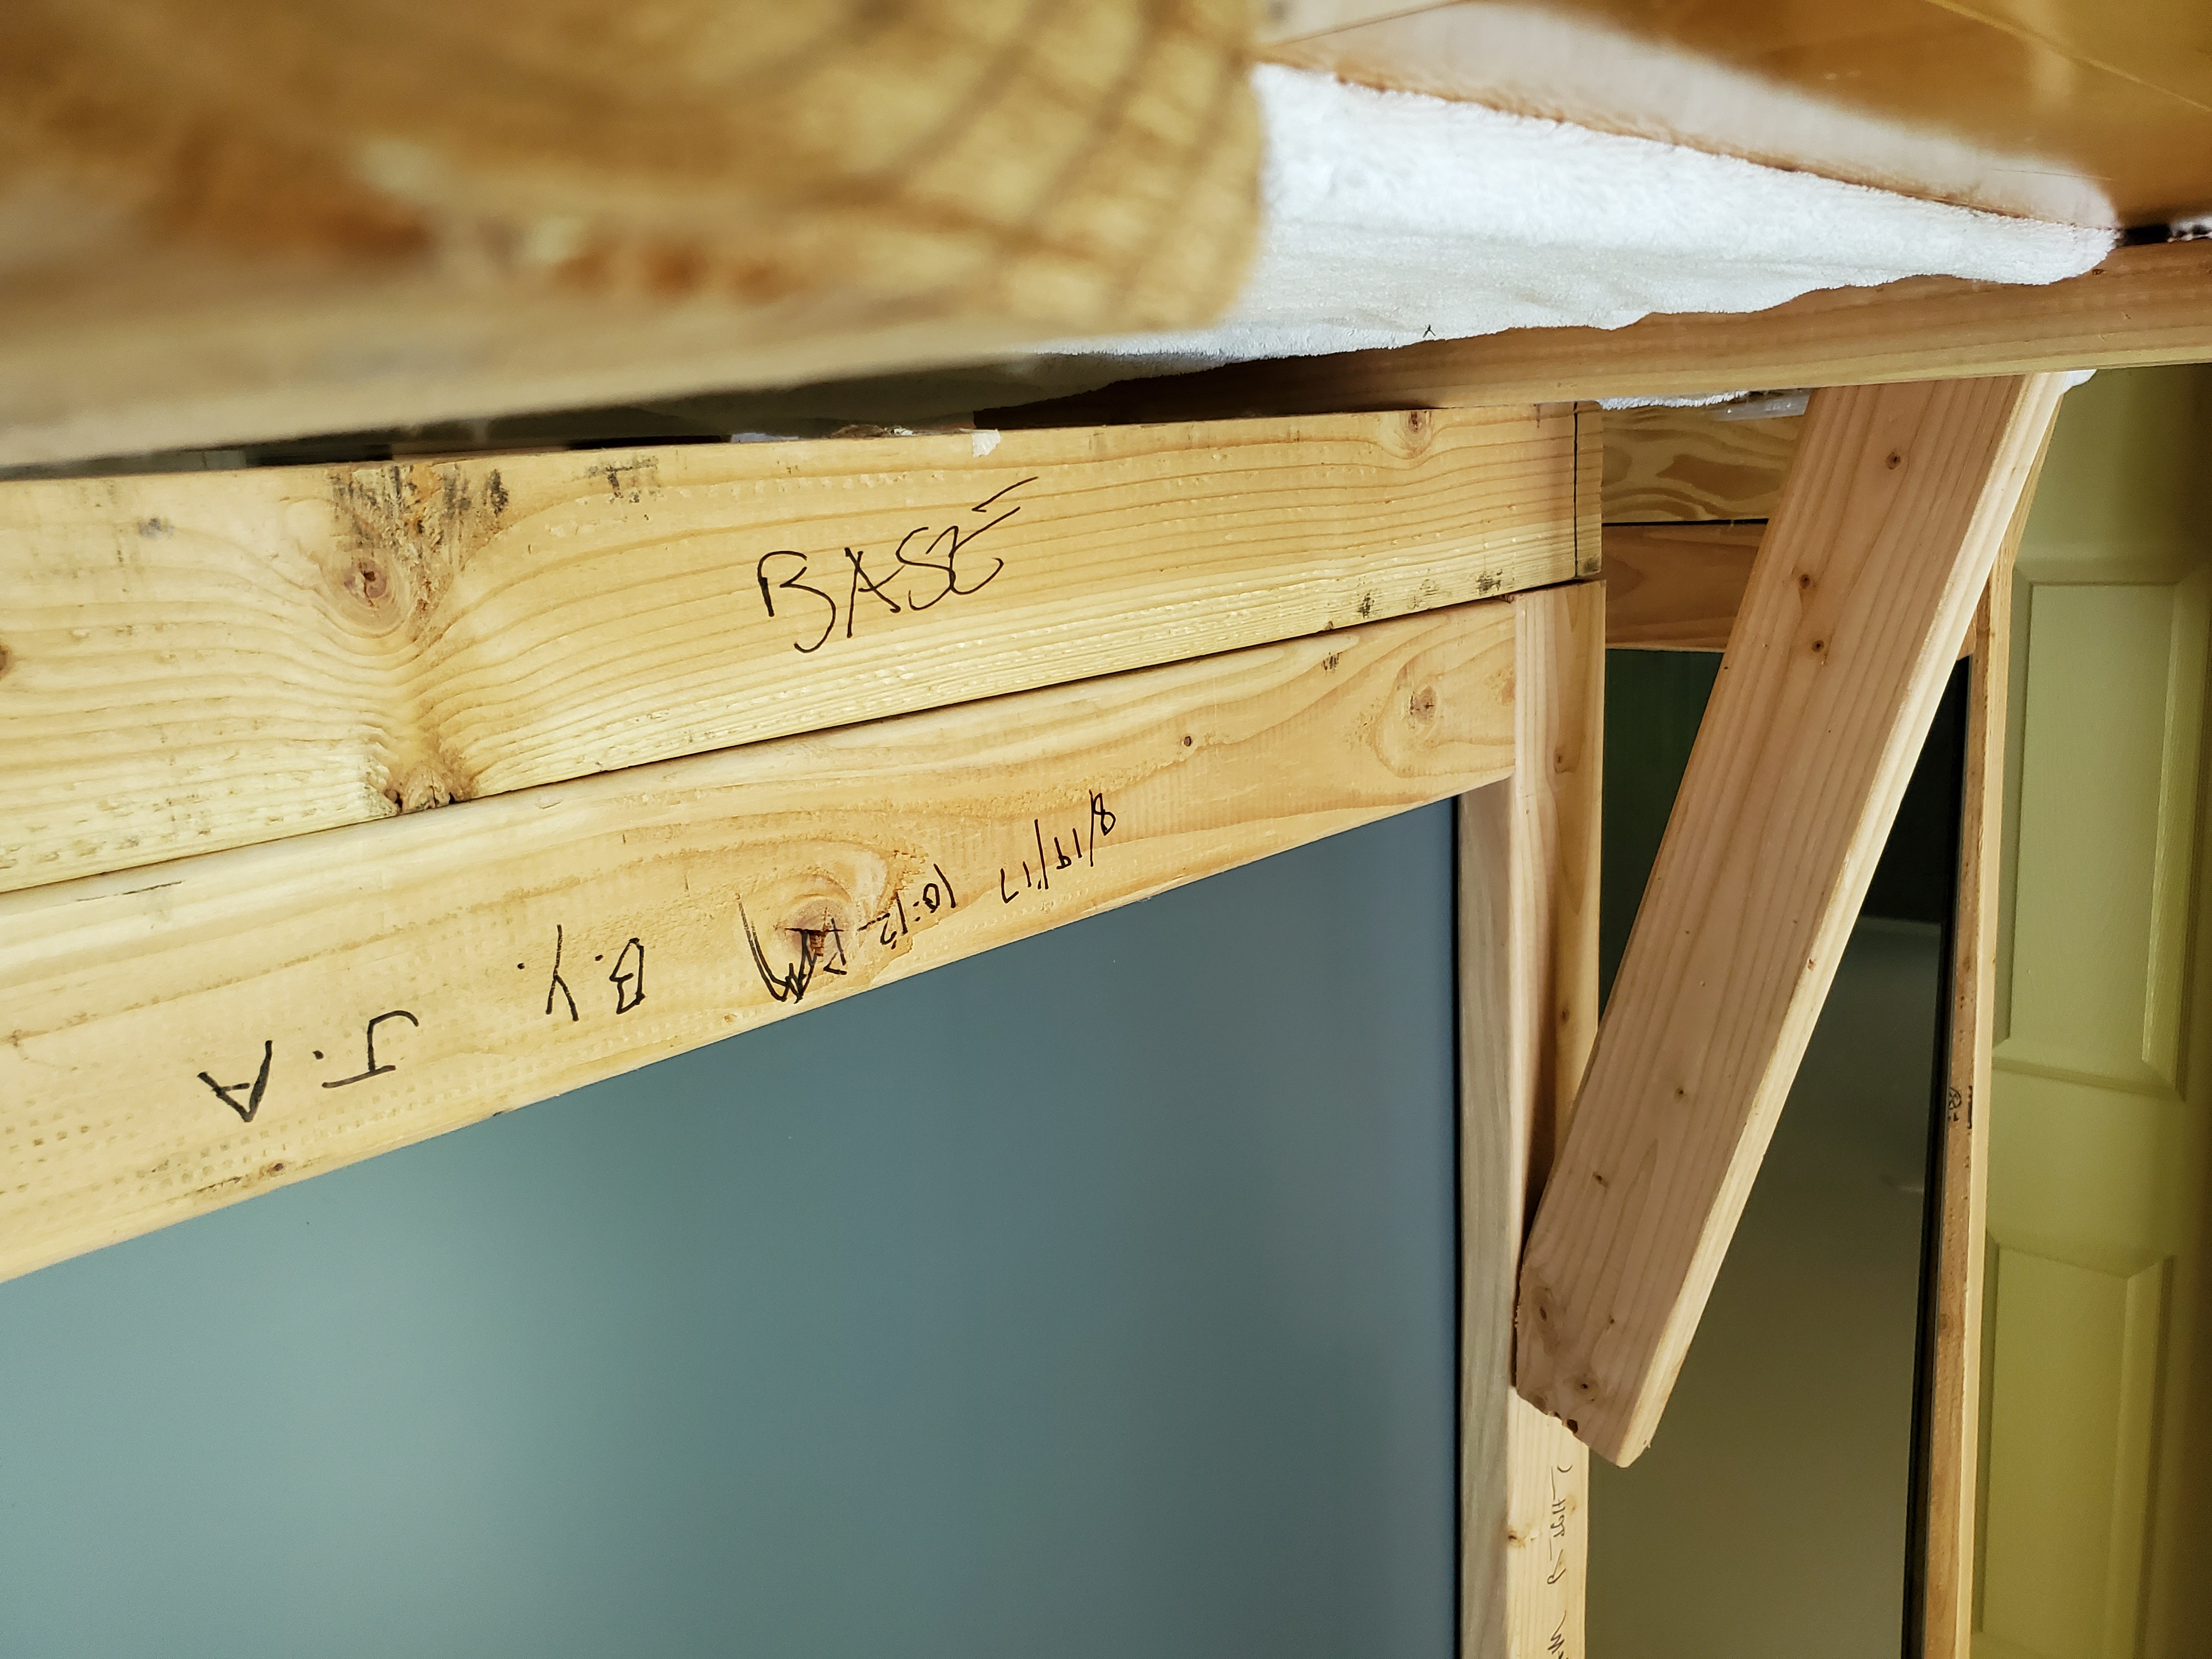
In order to streamline the construction process, I decided to build the frame starting from the bottom, which includes the base beam and its legs. Placing each leg on opposite sides beneath the beam, I perpendicularly connected the pieces with four-inch screws. Afterward, I decided to make the "H"-shaped backing by connecting the vertical beams with a horizontal piece between them. Once the backing was finished, I used seven-inch screws to attach both the backing and the frontside guard to the base beam. This left us with about an eighth of an inch between the two pieces to slide the mirror in. Before sliding the mirror in, I attached diagonal supports to connect the vertical beams to the legs beneath the base. This would prevent the mirror from tilting backwards. Finally, I slid the mirror in and fastened the top to the vertical beams using mirror clips.
(Picture above displays the backside and bottom of a frame.)
The Results

Reflecting on this project, I realized there were many small details I didn't take into account until after aligning my three frames:
- Between the three, the widths of the mirror slits were ever-so-slightly off. This inconsistency caused each mirror to tilt at a tiny angle, therefore, causing the reflections to be misaligned. If I had made one frame, I would not have noticed this issue.
- Because I used hand-tools for everything, I was not as accurate as I thought. A couple of edges were not perfectly squared, a few screws were not perfectly straight, and a handful of angles were not perfectly angled. Though I didn't notice these issues during the process, the culmination of them appeared in the final project.
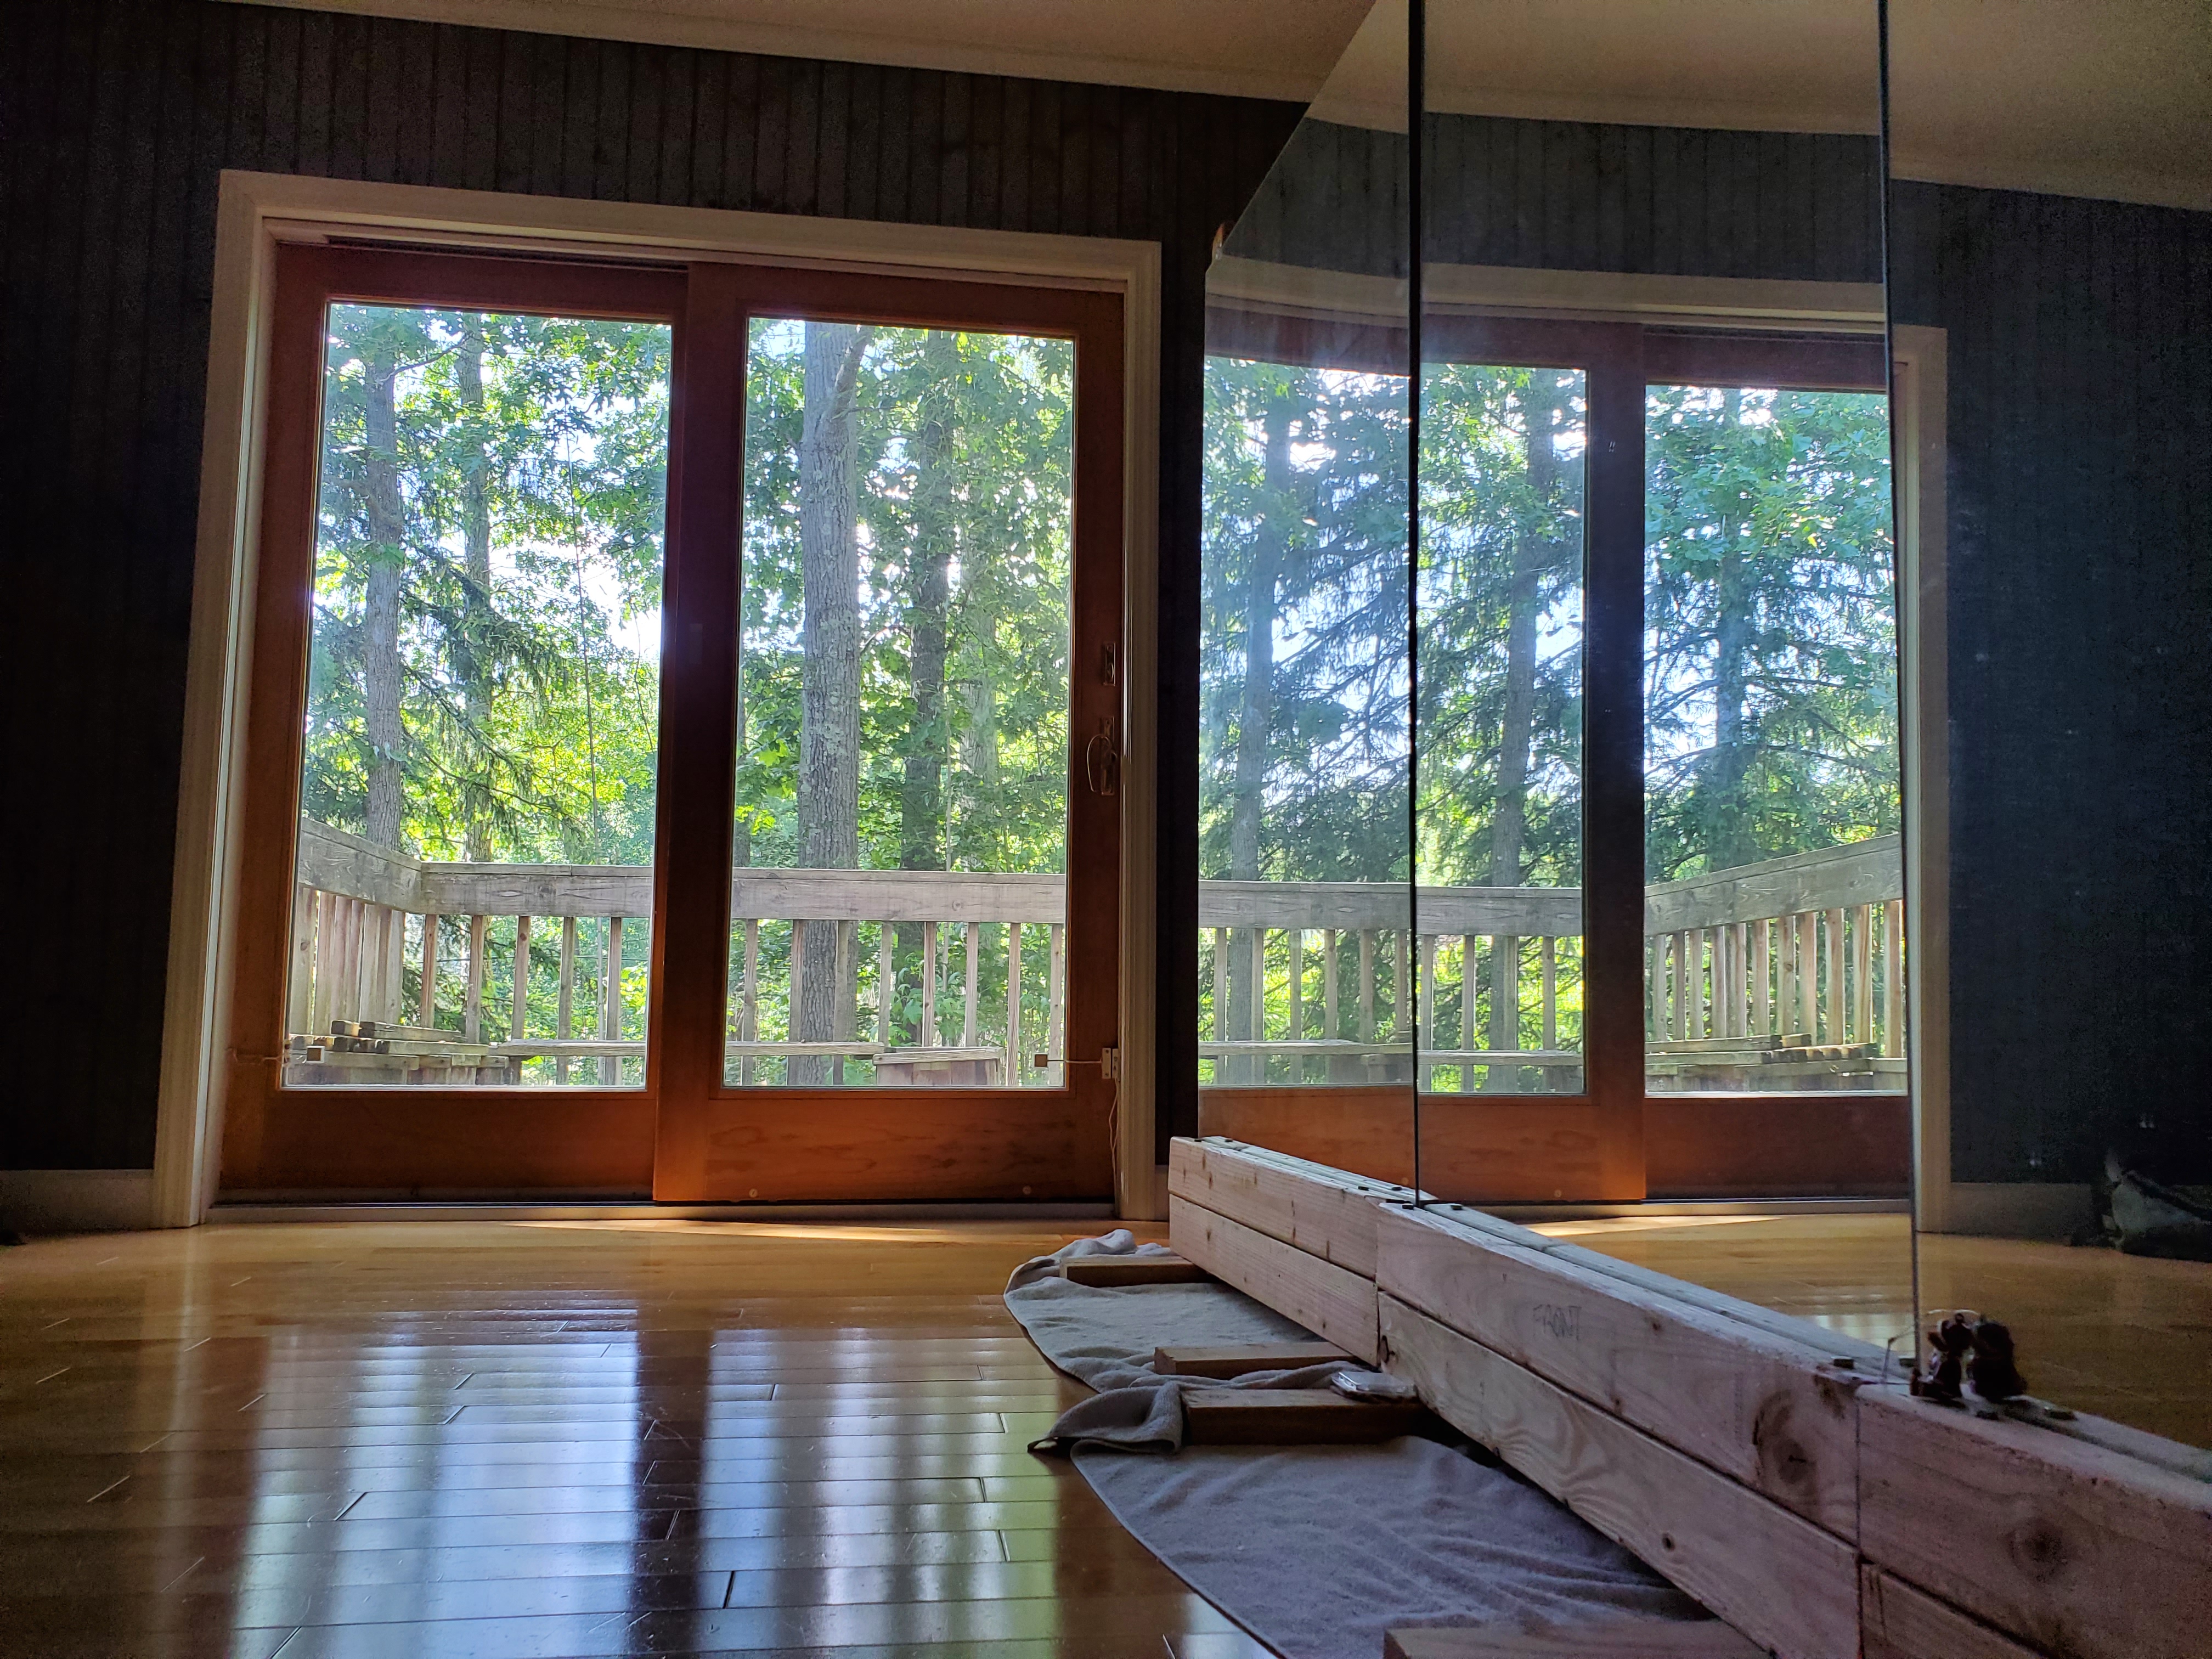
- The weight of the frame and mirror combined was more than I expected. As a result, sliding them on the ground would scratch the floor. To prevent this, I either removed the mirror completely to lessen the weight or placed towels beneath the frames so they can slide easily.
Were the mirrors difficult to make? Yes. Did I run into unforeseen issues? Yes. Was the project worth it? Yes.
Overall, this project was a great learning experience. Though the outcome was not perfect, this was my first attempt at pursuing an idea on my own. I was able to draft and execute a plan while adapting to any problems that came up along the way. In hindsight, there are many things I would have done differently, but I believe experience is the best teacher.
(Picture above displays three mirrors side-by-side)
